Automate tests using GitHub Actions
Overview
Teaching: 1 min
Exercises: 1 minQuestions
How do I make sure I do not package and publish broken code?
How can I run my tests automatically without even realizing it, for free, on someone else machine?
How do I keep track of the tests results?
Objectives
Create a GitHub Actions workflow to run your package tests at each push to the master branch.
Add a badge to the README file to notify if the last test run passed.
Now that your application can be run locally and built as a Docker image we will want to automate running the tests, so that the test suite that has been defined is run at every push to the master branch on GitHub. This will allow you to automatically know if the last changes you did broke features for which you wrote tests.
GitHub Actions limitations and billing
GitHub Actions workflows will be run on a GitHub-hosted runner (on their servers). Note that you can also define an action to run on a server or on your local machine by installing a self-hosted runner. In this workshop we will only use the GitHub-hosted runner for convenience, but feel free to install a self-hosted runner to overcome GitHub limitations.
The following limitations apply to GitHub-hosted runner (they do not apply for self-hosted runners):
- Each job in a workflow can run for up to 6 hours of execution time.
- Each workflow run is limited to 72 hours.
- Total concurrent jobs for the free plan: 20 jobs (5 macOS)
GitHub-hosted runners run on machines with the following specifications:
- 2-core CPU
- 7 GB of RAM memory
- 14 GB of SSD disk space
- Environments:
ubuntu-latest(a.k.a.ubuntu-18.04),ubuntu-20.04,windows-latest,macos-latestGitHub Actions is free for Open Source repositories 💸
If you create a public repository you don’t need to be careful with the execution time and storage you are consuming.
GitHub free plan allows to run Actions in private repositories, but impose execution time and storage limitations. By default GitHub set your spending limit to 0 €, so you will not be billed by surprise. The free plan provides the following credits per months, they are attached to the user or organization owning the repository running the workflows:
- 2,000 minutes of execution time (~33h)
- 500 MB of storage (for private artifacts and GitHub Packages)
We recommend to use Linux runners, as jobs that run on Windows and macOS runners consume minutes at 2 and 10 times the rate that jobs on Linux runners consume.
Note that if your project hosts its code on GitLab, we recommend to use GitLab CI. Which works with mechanisms similar to GitHub Actions.
Since this project is be open source we don’t need to worry about spendings 💸
Generate the GitHub Actions workflow
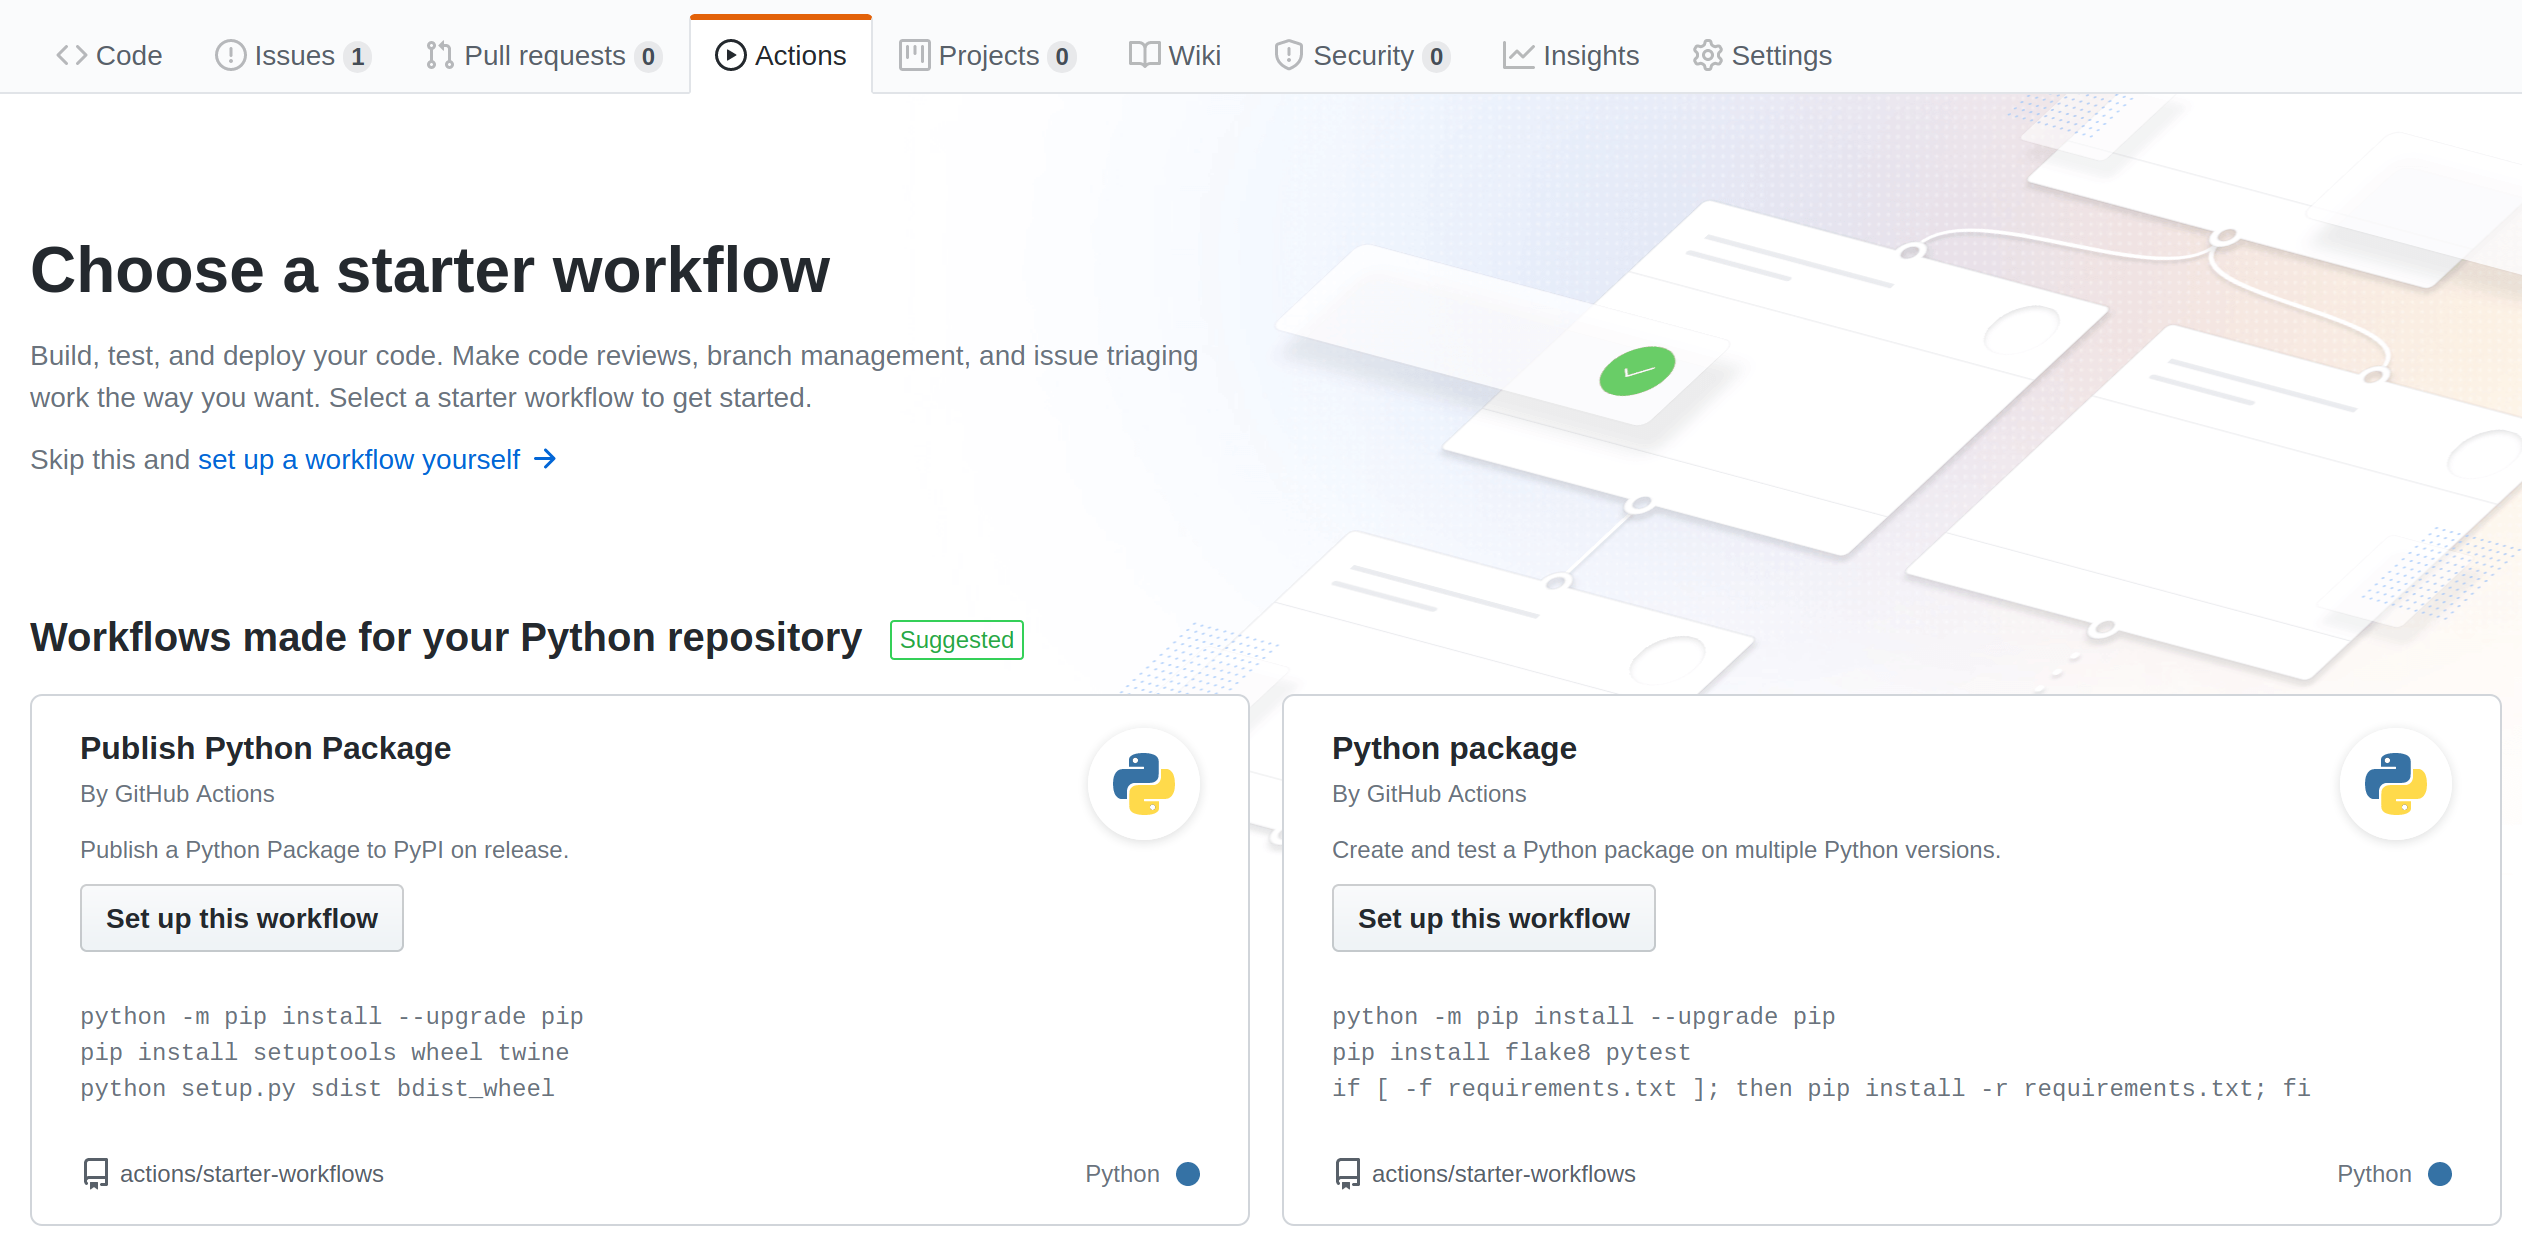
- Go to the Actions tab (next to Pull requests) in your GitHub repository.
- Choose the “Python package by GitHub Actions” starter workflow.
- It will generate a
python-package.ymlworkflow with common steps to test a Python package.- You should now be able to edit the workflow generated in GitHub web interface.
Inspect the generated workflow
At the moment the workflow generated by GitHub fits our needs, so we will not need to change it a lot. Here is a breakdown of the generated file:
on:
  push:
    branches: [ master ]
  pull_request:
    branches: [ master ]
The workflow will be triggered when a push or a pull request is made to the master branch.
jobs:
  build:
    runs-on: ubuntu-latest
    strategy:
      matrix:
        python-version: [3.5, 3.6, 3.7, 3.8]
Runs the job named
buildon Ubuntu, and prepare to test on Python version 3.5 to 3.8.
    steps:
    - uses: actions/checkout@v2
    - name: Set up Python $
      uses: actions/setup-python@v2
      with:
        python-version: $
Starts defining the steps of the
buildjob:
actions/checkoutget the latest version of your repository source code in the job working folder.actions/setup-pythonwill install the given Python version in the job. Here we usematrix.python-versiondefined in the previous step, in this case GitHub will run 4 times this job, for each version specified in the matrix.
    - name: Install dependencies
      run: |
        python -m pip install --upgrade pip
        pip install flake8 pytest
        if [ -f requirements.txt ]; then pip install -r requirements.txt; fi
Once Python is setup in the job, the dependencies are installed:
- Upgrade
pip- Install
flake8andpytest- Install packages defined in `requirements.txt
    - name: Lint with flake8
      run: |
        # stop the build if there are Python syntax errors or undefined names
        flake8 . --count --select=E9,F63,F7,F82 --show-source --statistics
        # exit-zero treats all errors as warnings. The GitHub editor is 127 chars wide
        flake8 . --count --exit-zero --max-complexity=10 --max-line-length=127 --statistics
This step runs flake8, it will check for syntax errors in your Python code, and reports in the job logs where you are not following Python styling conventions (which is not mandatory).
Edit and commit the GitHub Actions workflow
- Replace the step:
- name: Test with pytest
  run: |
    pytest
- By this one, which runs the tests using your
setup.pyconfiguration:- name: Test with pytest run: | python setup.py pytest
- You can now click Start commit to publish the workflow.
- The workflow file is stored in the GitHub repository at
.github/workflows- Do a
git pullin the repository on your local machine to retrieve the workflow file.
We will finally add a status badge to the README to conveniently monitor and share the results of the latest tests.
Add status badge
- Go to the Actions tab of your repository on GitHub.
- Go to your Python package workflow.
- Click on the Create status badge button (on the right of the screen)
- Add the markdown to your project
README.md
Key Points
GitHub provides a lot of relevant templates for common workflows.
Make sure to install the tests requirements in the GitHub job before running the tests.
Generate a status badge with GitHub to show if the tests passed directly in your README.
